Q: "I love your photos and enjoy listening to you when you are on TWIP. I was wondering what your thoughts are about cropping photos. Do you usually plan to crop or try to frame in camera? When you do crop a photo to you usually stick to "standard" sizes or usually just to get the image you want? Thanks again for sharing your love of photography." Wes
A: "Thanks for being a TWiP listener Wes! And thank you for submitting a question. Cropping in camera and getting rid of distracting elements before you press the shutter in order to make stronger images is actually something I teach in my 'Learning to see photographically' workshop. That is also the reason why I urge my photography students to use a prime lens. A fixed focal length lens will make you work harder, it will slow you down to compose your image more carefully. In my opinion it's all about shooting less and shooting better and with more intent. With digital, photographers tend to shoot a scene from every possible angle and compose their image in post processing with the cropping tool. I think that approach takes the merit and the fun out of photography. There are decisions that should be made in camera and in the field. We are photographers, aren't we?
Of course shooting a large number of frames of a single subject and leaving room for cropping is necessary when you photograph birds, children, sport, etc. It is also a necessary step in the learning process. The digital age has certainly eased the learning curve with the possibility of unlimited shots, immediate gratification and no cost attached. My point is that once a photographer becomes proficient, he or she should not depend on the lucky shot and should make decisions in camera in order to spend as little time in the digital darkroom as possible. Cropping in camera is one of those decisions.
Do I crop in post processing? I do, occasionally, and I love the ease of the cropping tool. That said, I don't shoot with the cropping tool in mind. Yet, it can be an image saver! I often used a square crop for street photographs when I was shooting with a DSLR for example. Now I have the ability to see in a square before I press the shutter and that is a great advantage to train the eye to see in that format. I often set my Fuji x100s to square.
I don't worry too much about keeping the standard ratio when cropping in LR unless I want to print and I want that print to fit in a standard frame size. I like to add a white or black border to my images, which also allows for more flexibility if the crop is not standard.
I hope this answers your questions, please feel free to send more. Thanks again!" Valerie
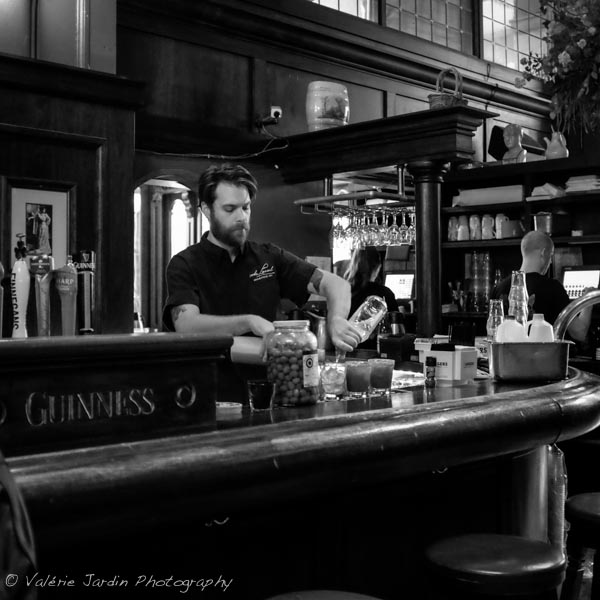
I love setting my Fuji x100s to 1x1 format and see/photograph life in a square!
Please leave a comment below and share your experience with the community. If you have a question, feel free to send it to Valerie for an upcoming Q&A blog post. This blog cannot exist without your questions!


